Windows 11ではアプリケーションごとにビデオパフォーマンスを調整することができます。
Windows 11 22H2 Build 22621.2215での記事です。
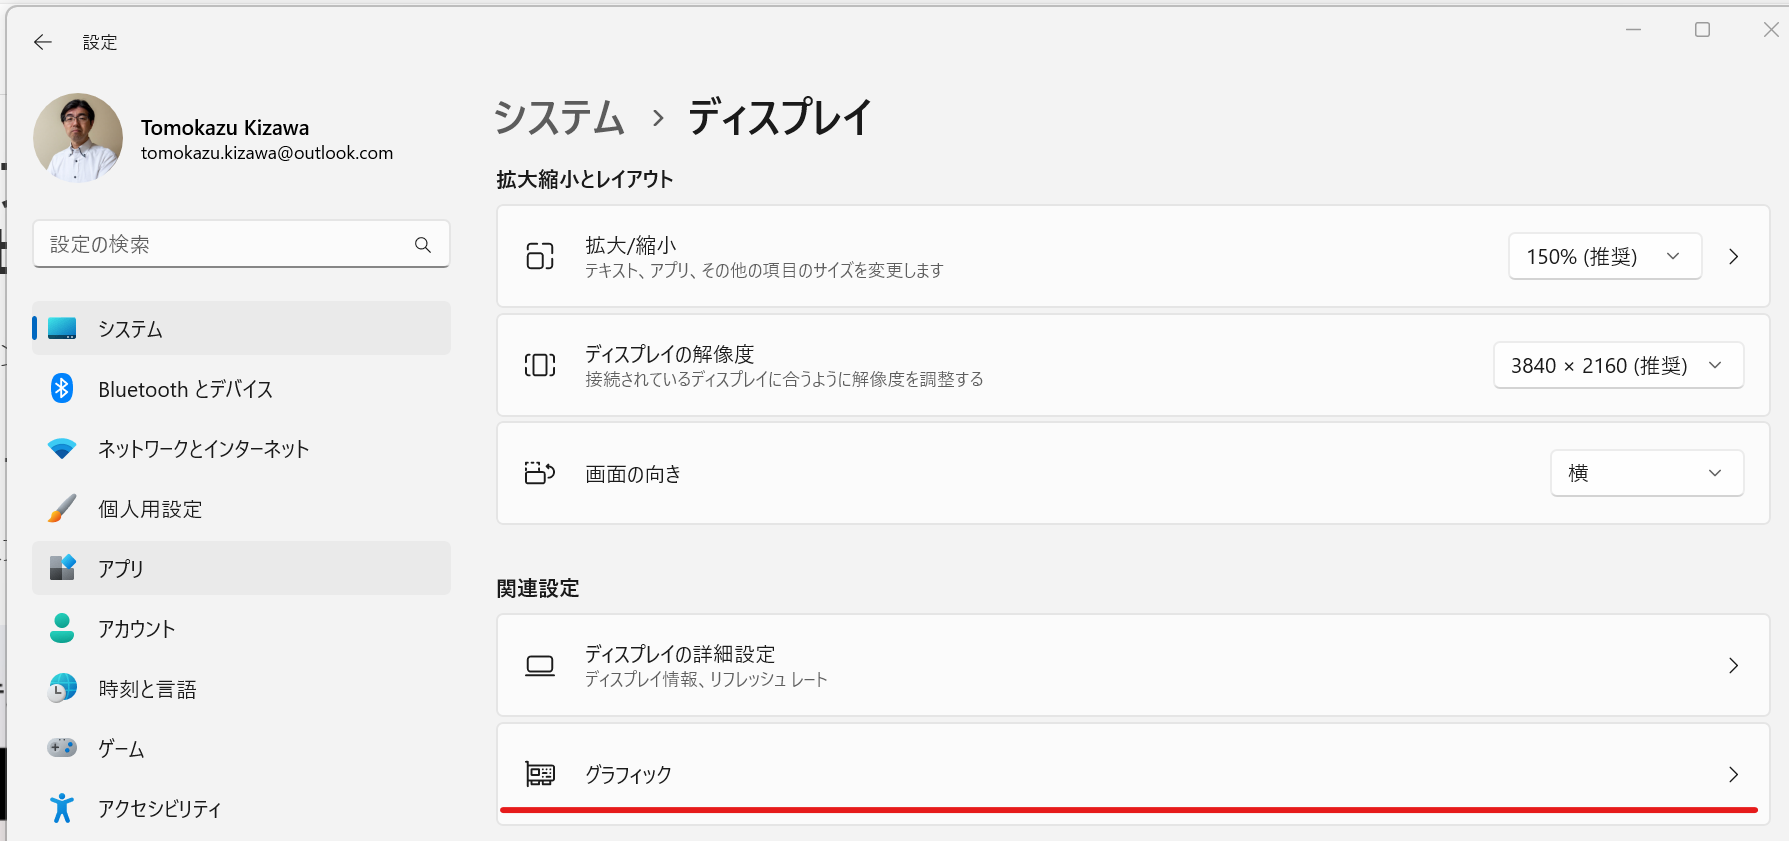
設定画面で、[システム]>[ディスプレイ]>[グラフィック]を選択します。
あらかじめカメラやフォトなどのアプリがセットされています。
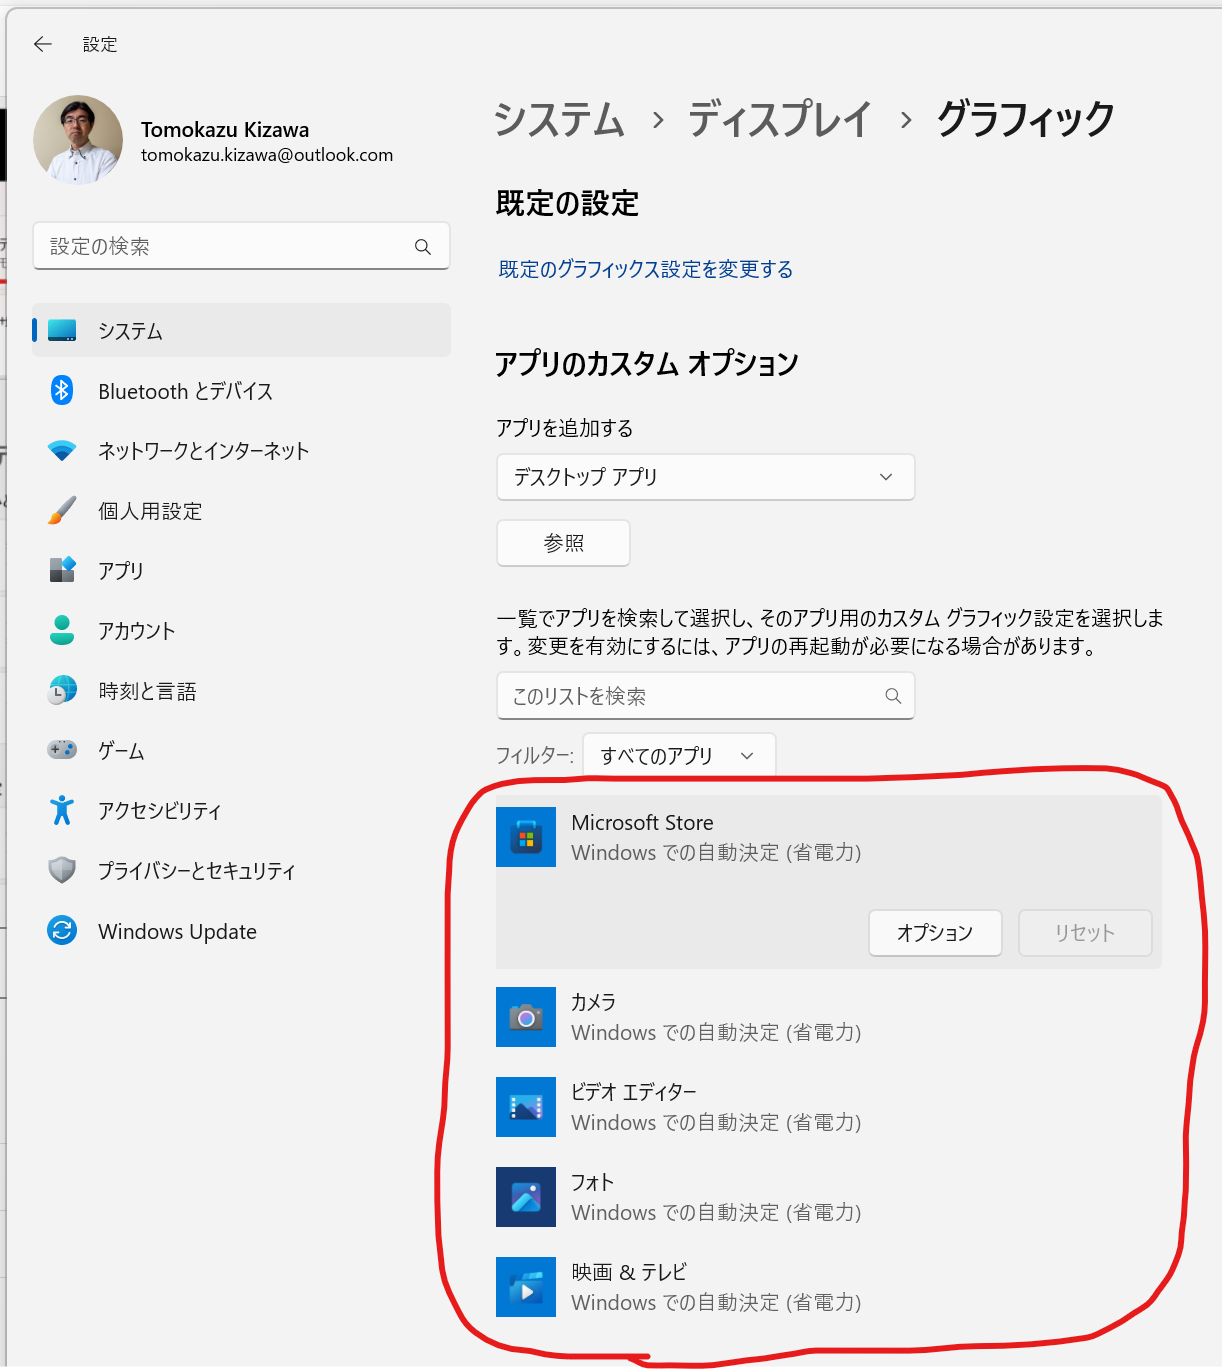
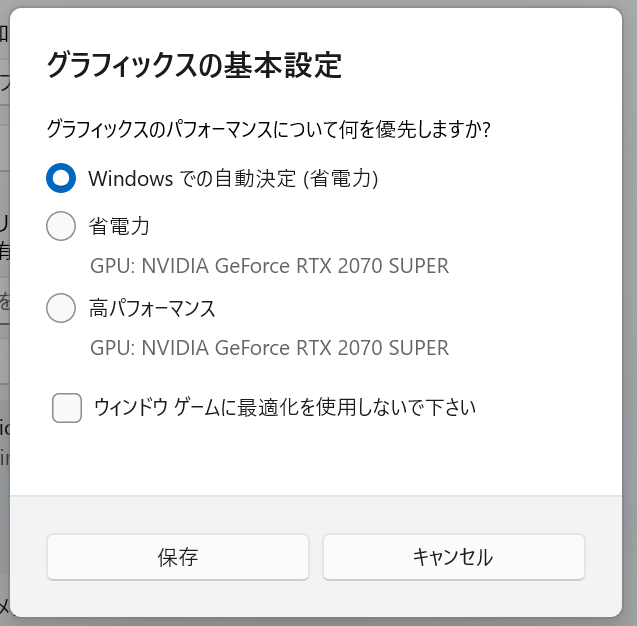
いずれかのアプリをクリックして[オプション]をクリックします。自動設定、省電力、高パフォーマンスを選ぶことができます。最初の設定では、自動設定になっています。普通はこれでいいでしょう。
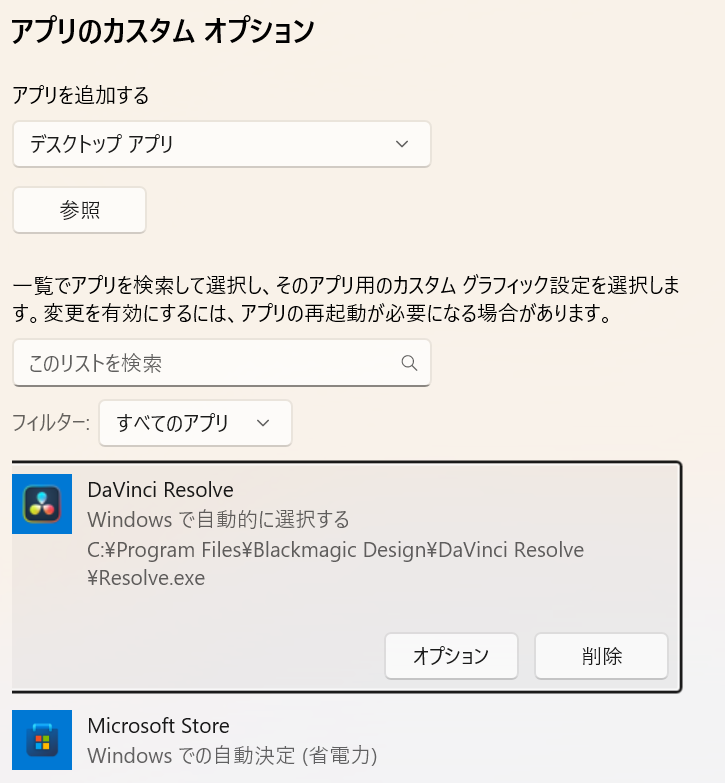
では、ここの項目にないアプリを設定してみます。アプリを追加するでデスクトップアプリまたはストアアプリを選択します。ここでは動画編集ソフトのDavinci Resolveを選んでみます。デスクトップアプリを選択して参照ボタンをクリックします。

“C:\Program Files\Blackmagic Design\DaVinci Resolve\Resolve.exe”を選択します。ここはお好きなアプリのexeファイルを直接指定します。
Davinci Resolveが設定されました。
オプションをクリックします。高パフォーマンスを設定して保存ボタンをクリックします。
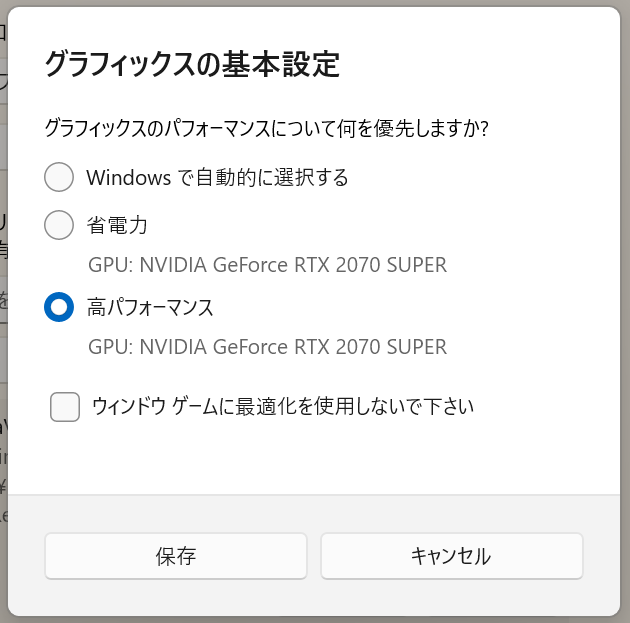
Davinci Resolveを実行するときは必ずビデオ性能は高パフォーマンスになります。(まあ、そうでなくても自動設定で高パフォーマンスになると思いますが)

あえて省電力モードにするという方法もありますね。
著者情報

- Microsoft MVP for Windows and Devices(Windows,Surface)
-
Microsoft MVPを14年間連続受賞している木澤朋和です。WindowsやSurfaceをはじめとしたパソコンやデジタルガジェットに関する情報を発信しています。ポッドキャスト番組やYouTube動画配信で、Microsoft製品や技術の魅力をお伝えするコンテンツを配信中です。マイクロソフト関連の勉強会で登壇もしています。さらに、製品レビューのご依頼も随時受け付けていますので、お気軽にご相談ください。


